Table of Contents
- Why Professional Wall Preparation Matters
- Wall Cleaning Before Painting: The Foundation of Quality Work
- Drywall Repair Before Painting: Addressing Damage and Imperfections
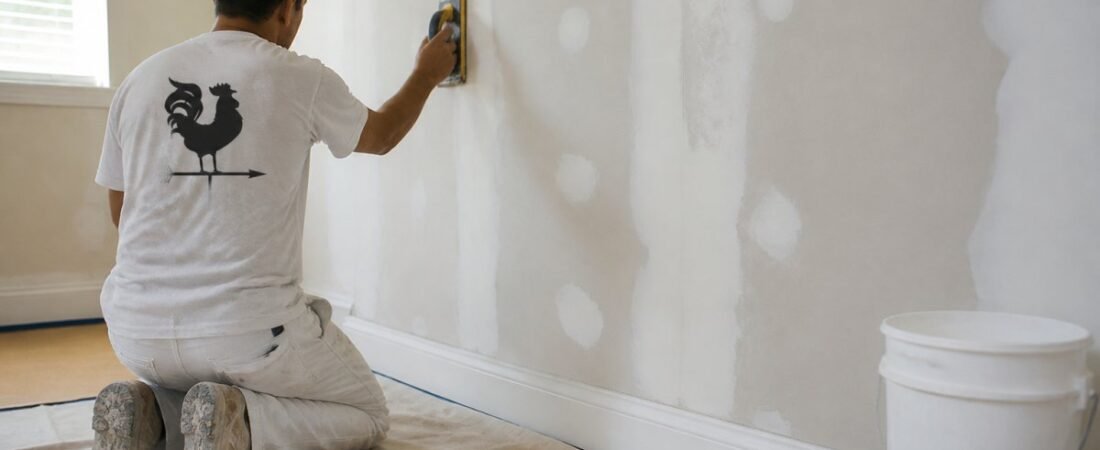
- Sanding Walls Before Painting: Creating a Paint-Ready Surface
- Priming Walls Before Painting: Ensuring Adhesion and Coverage
- How Professional Preparation Prevents Paint Failure
- Professional Wall Prep vs. DIY: When to Call an Expert
- Frequently Asked Questions
Last Updated: October 21, 2026
Why Professional Wall Preparation Matters
The difference between a paint job that lasts five years and one that lasts fifteen comes down to what happens before the brush touches the wall.
Skip proper preparation and paint won’t adhere. That’s why professional painters invest more time in preparation than in actual painting, it’s what separates a finish that looks fresh after one year from one that looks fresh after ten.
The benefits extend beyond appearance: better adhesion, smoother coverage, longer-lasting finishes, and better protection for your home, plus no costly repainting down the road.
Most homeowners underestimate prep time. Professional painters typically spend 40-60% of a project’s timeline on preparation. That investment pays off in durability and finish quality that DIY approaches rarely achieve.
Wall Cleaning Before Painting: The Foundation of Quality Work
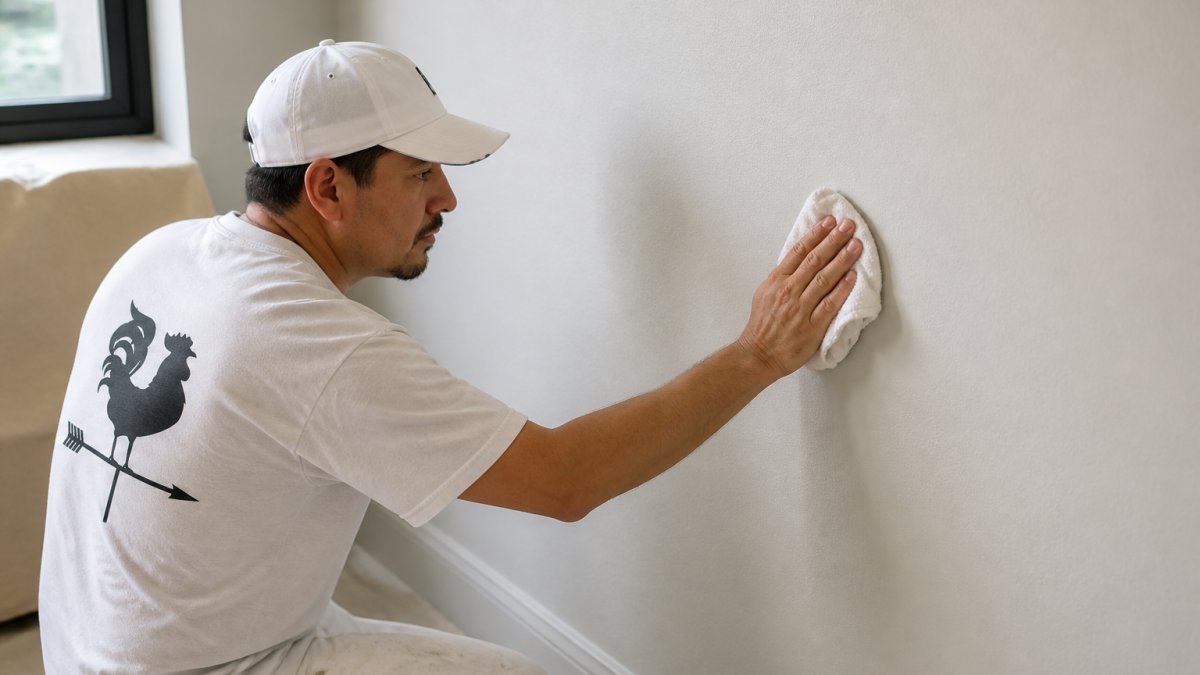
Before any repairs or sanding, the wall must be clean.
The cleaning process typically involves:
- Vacuuming or wiping down all dust and loose particles
- Washing walls with appropriate cleaners for the surface type
- Removing any mold, mildew, or stains with targeted treatments
- Allowing adequate drying time before moving to the next step
A clean surface is a paint-ready surface. Properly cleaned walls take paint more evenly, while dirt and residue create thin spots that lead to uneven appearance and premature failure.
Drywall Repair Before Painting: Addressing Damage and Imperfections
Holes, cracks, dents, and water damage all need addressing before painting. Paint doesn’t fix damage, it hides it temporarily: water stains bleed through, cracks expand and fail, holes stay visible. The difference between a repair that disappears under paint and one that telegraphs through is matching the method to the damage type and wall substrate.
Match the repair to the damage
Not every imperfection calls for the same compound or technique. A professional assessment sorts damage into categories before any mud goes on the wall:
- Nail holes and tiny dents (under about 1/8 inch): lightweight spackling compound, applied in one or two thin passes, sanded flush. No tape needed.
- Small holes and popped screws (about 1/8 to 1/2 inch): patching compound over a self-adhesive mesh patch, feathered at the edges. Screw pops usually signal movement or missing fasteners, so reset or add a screw before patching.
- Medium holes (about 1/2 to 2 inches): mesh or paper tape over a backer, two or three thin coats of joint compound, each sanded before the next.
- Large holes and removed fixtures: a drywall plug or California patch, taped and coated in thin layers until flush.
Surface-specific repair notes
- Drywall: standard joint compound and mesh or paper tape work well. Setting-type compound shrinks less than lightweight pre-mixed compound on deeper fills, which matters on larger patches.
- Plaster: plaster cracks and keys (the squeezed-through backing that holds plaster to lath) fail differently from drywall. Loose plaster must be removed back to sound material, the lath secured, and the patch built up in thin coats. Painting over a hollow-sounding plaster patch guarantees a callback.
- Previously painted walls: repair compound bonds poorly to glossy or contaminated paint, so the repair area is sanded and often primed before mud is applied.
- Wallpapered walls: if wallpaper is coming down, the wall behind it usually needs washing, sizing removal, and patching of any adhesive residue or torn drywall face before repair.
Diagnose before you repair
Some damage is a symptom, not a standalone defect. A professional stops and investigates when:
- Drywall is soft, crumbly, or stained in a pattern that grows after rain or plumbing use.
- Stains are brown or yellow and reappear after cleaning, which points to an active moisture source rather than an old mark.
- Paint or compound bubbles or blisters, which usually means moisture is pushing from behind.
- Cracks recur in the same location after repair, which suggests movement, settling, or a structural cause.
In those cases the correct next step is finding and fixing the source, not painting over it. A painter who repairs and paints without addressing active moisture is selling a finish that will fail.
The repair sequence professionals follow
- Inspect the whole wall under raking light and mark every defect.
- Test for hollow plaster, soft drywall, and moisture with a meter where damage is suspected.
- Remove loose material and reset fasteners.
- Patch in thin coats, letting each coat dry fully.
- Sand flush and feather edges wide enough that the repair disappears under paint.
- Dust off and spot-prime repairs so they take paint at the same sheen and color as the surrounding wall.
- Re-check under raking light before the finish coat.
This step is critical: paint doesn’t hide imperfections, it highlights them under light. A properly repaired wall presents a smooth, uniform surface that accepts paint evenly.
Moisture damage requires investigation before repair. If drywall is wet or soft, or if you notice recurring stains, the source of the moisture must be identified and fixed first. Otherwise, the same damage will return after painting. Professional painters can diagnose moisture issues and recommend solutions.
Sanding Walls Before Painting: Creating a Paint-Ready Surface
Sanding creates the texture and tooth paint needs to adhere. Smooth, glossy, or previously painted surfaces don’t offer enough grip; sanding roughens them just enough for paint to hold.
Sanding also smooths imperfections left by repair work. Patching compound, tape, and joint compound leave raised edges and ridges; sanding eliminates them so the wall feels smooth and looks uniform under paint.
Professional sanding involves:
- Selecting the correct grit sandpaper for the surface and condition
- Sanding all repaired areas smooth and flush with surrounding wall
- Light sanding of glossy or previously painted surfaces to improve adhesion
- Sanding any areas with texture or irregularities
The goal is a smooth, slightly textured surface with good adhesion.
Priming Walls Before Painting: Ensuring Adhesion and Coverage
Primer isn’t just a first coat of paint. It’s a specialized product that bonds to the wall and gives paint a secure base, filling small pores, sealing stains, and creating a uniform surface.
Priming matters most over patched areas, water stains, glossy surfaces, new drywall, and any surface where adhesion is uncertain. Without it, paint adheres unevenly, causing visible differences in sheen, color, and durability.
Professional priming includes:
Click here to Schedule Free Quote →
- Selecting the right primer for the surface type and condition
- Applying primer to all repaired areas and stained surfaces
- Using primer on glossy or previously painted surfaces that have been sanded
- Ensuring complete, even coverage
- Allowing adequate drying time before painting
Primer improves adhesion, blocks stains, boosts coverage, and extends the finish’s life. Skipping it compromises durability and appearance.
Professional wall prep uses primer strategically to solve specific adhesion and coverage problems. Paint alone cannot do what primer does. This is why professionals use primer before paint, it ensures the paint job lasts.
How Professional Preparation Prevents Paint Failure
Paint failure, peeling, cracking, flaking, or chalking, almost always traces back to poor preparation.
Professional preparation prevents these failures by addressing every factor in adhesion and durability, so paint cures to a hard finish that resists peeling, cracking, and premature failure.
The preparation steps work together:
- Cleaning removes contaminants that prevent adhesion
- Repair fixes damage that would cause visible failure
- Sanding creates the texture paint needs to grip
- Priming seals the surface and improves paint coverage
When all these steps are done properly, the paint finish can last for many years. When any step is skipped or done poorly, failure typically occurs much sooner.
Professional Wall Prep vs. DIY: When to Call an Expert
Many homeowners attempt wall prep themselves to save money; some succeed, many don’t. The difference comes down to project size, wall condition, skill, time, and risk, so a practical decision framework beats a pros-and-cons list.
Decision criteria that actually predict success
Ask these questions before deciding:
- How much wall area is involved? A single accent wall or a small touch-up is a reasonable DIY scope. A whole-house repaint multiplies every prep step and every mistake.
- What condition are the walls in? Cosmetic cleaning and light spackling are DIY-friendly. Active moisture, mold, soft drywall, failing plaster, or wallpaper removal raise the risk quickly.
- Do you have the right tools? Pole sanders, a dust extractor, moisture meter, taping knives, and the correct primers are not free, and buying them for one project often costs more than hiring the prep out.
- How much time do you have? Prep is the slow part. Cleaning, drying time, multiple compound coats, sanding, and priming add up to days, not hours, on a typical room.
- What is your tolerance for rework? A repair that telegraphs through paint or a primer coat applied too thin means sanding back and starting over.
What a professional estimate for prep includes
A professional quote separates preparation from painting so you can see what you’re paying for. A thorough estimate itemizes:
- Protection of floors, furniture, and fixtures (plastic, canvas drop cloths, tape, and labor to move and cover)
- Cleaning and degreasing, including any stain or mildew treatment
- Repair labor and materials: compound, tape, patching, and texture matching
- Sanding and dust control
- Primer, including the type and number of coats
Preparation costs vary widely with wall condition, ceiling height, and repair volume, so a responsible estimate comes from an on-site assessment, not a per-room flat rate. Ask whether spot-priming repairs and texture matching are included, and what happens if hidden damage surfaces mid-job.
Quality-control checks for a paint-ready wall
Whether you hire out or do it yourself, a wall is ready for paint when you can confirm these observable conditions:
- The surface is clean, dry, and free of dust, grease, and residue.
- Repairs are flush and feather-edged, with no ridges or hollow spots when you run a hand across them.
- The wall looks uniform under raking light, with no shadows from imperfections.
- Primer coverage is even, with no thin or skipped areas and no glossy patches left unprimed.
- Stains are sealed and do not show through the primer.
If any of those checks fail, the wall is not ready, and painting it will lock the defect into the finish.
When to call an expert
Call a professional when any of the following is true:
- Moisture, mold, or recurring stains are present.
- Damage is extensive or involves plaster, texture matching, or wallpaper removal.
- The project covers multiple rooms or the whole home.
- Your time is limited and you want the job done on a schedule.
- You want warranty-backed work and a documented prep process.
At Rooster Painting, we handle all preparation as part of our painting service: we assess your walls, identify issues, perform repairs, and prepare every surface properly before painting begins. Our commitment to quality ensures finishes that last, look professional, and hold their appearance year after year.
Homeowners who want a paint job that lasts for many years without peeling or cracking. Professional preparation is essential for achieving lasting durability. DIY prep works for simple touch-ups; professional prep is essential for lasting results.
Frequently Asked Questions
What does professional wall preparation include?
Professional wall preparation includes cleaning surfaces to remove dust and debris, repairing drywall damage and cracks, sanding rough areas smooth, and applying primer where needed. Professionals also protect floors and furniture with drop cloths and masking tape to ensure clean lines and reduce mess. This comprehensive approach ensures the paint adheres properly and delivers a long-lasting, even finish that resists peeling and cracking.
Why is professional wall prep worth the cost?
Proper preparation prevents costly paint failure down the road. Skipping prep work can lead to peeling, cracking, and premature repainting. Professional wall prep extends the life of your paint job, saves time on future touch-ups, and delivers a smoother, more durable finish. The upfront investment in quality preparation protects your property value and eliminates the frustration of paint failure.
What happens if you skip wall preparation?
Skipping preparation causes paint to fail prematurely. Without cleaning, paint won’t adhere to dust and debris. Unrepaired cracks and holes create visible flaws and weak points where paint peels. Unsanded surfaces prevent smooth paint coverage, and missing primer reduces adhesion and stain resistance. The result is a dull, uneven finish that chips and peels prematurely, requiring expensive repainting and wasted time.
How does wall preparation affect the final paint finish?
Thorough preparation directly determines finish quality. Clean, repaired, and sanded walls allow paint to adhere evenly, creating smooth, consistent coverage without streaks or thin spots. Primer ensures uniform color and stain resistance. Without proper prep, paint sits on top of dust and imperfections, producing an uneven, dull appearance that highlights every wall flaw. Professional preparation is the difference between a polished, lasting finish and a disappointing result.