
Last Updated: November 14, 2026
Quick Summary
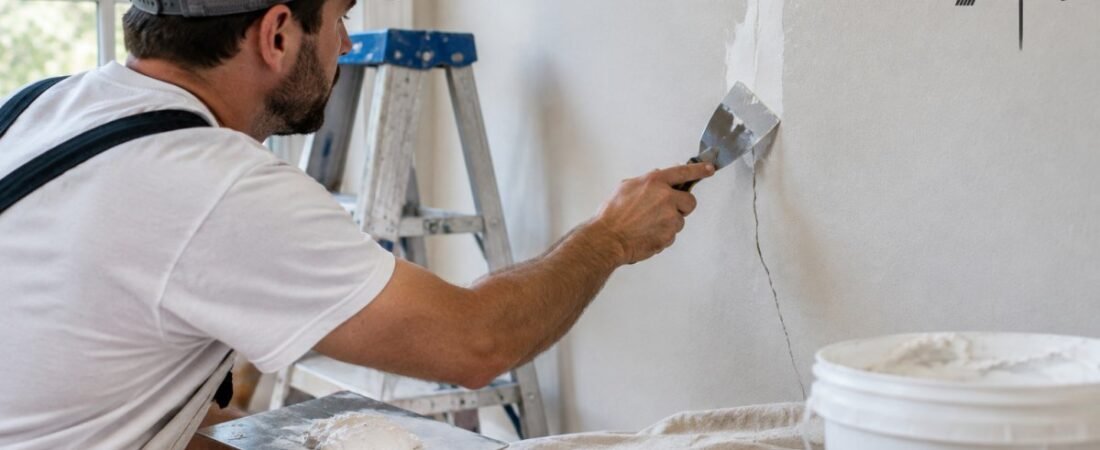
To fix drywall cracks, first decide whether the crack is cosmetic or a sign of structural movement. Then open the crack into a V-groove, fill it in thin coats, tape wider cracks, feather the edges, sand, prime and paint.
- Hairline cracks are usually under 1/8 inch wide and are the easiest to fix.
- Cracks that reappear after repair usually mean the underlying movement was never addressed.
- Use lightweight spackle for hairline cracks and setting-type compound for wider cracks.
- Apply thin coats of compound, since thick coats shrink and crack as they dry.
- Prime the patch before painting so the repair does not show as a dull spot.
Table of Contents
- Diagnosing the Crack: Cosmetic or a Warning Sign?
- Tools and Materials You Will Need
- How to Fix Small Drywall Cracks Step by Step
- How to Fix Large Cracks in Walls
- How to Fix Drywall Cracks on the Ceiling and Where the Wall Meets the Ceiling
- Why Drywall Cracks Come Back and How to Prevent Repeat Repairs
- Booking Your Drywall Repair and Repaint With Rooster Painting
- Frequently Asked Questions
Drywall cracks are one of the most common repairs homeowners face, and most of them are simple to fix with basic tools and a little patience. Knowing how to fix drywall cracks properly starts with understanding what caused them. Cracks tend to follow a few clear patterns. Knowing what caused the crack tells you how to fix it, and whether it can be fixed at all.
Diagnosing the Crack: Cosmetic or a Warning Sign?
Before you pick up a putty knife, figure out what you are dealing with. Most drywall cracks are cosmetic, caused by the normal settling of a house or by drying joint compound. Some point to a bigger problem.
Hairline cracks versus wide or recurring cracks
- Hairline cracks are thin, often less than 1/8 inch wide. They usually run along a seam or across a corner and are the easiest to fix.
- Wider cracks open more than 1/8 inch and may be deeper. They often need the material widened before filling.
- Recurring cracks come back after a repair. This usually means the underlying movement was never addressed.
Signs of structural movement to watch for
Watch for these signs that a crack may point to structural movement and not just surface wear:
- Cracks wider at one end than the other
- Diagonal cracks running from the corners of doors or windows
- Doors or windows that stick or no longer close properly
If you see these, have a qualified contractor or structural engineer take a look before you patch anything.
Tools and Materials You Will Need
Having everything ready before you start keeps the job moving and helps the compound dry evenly. The bigger decision is not which tools to buy but which filler and tape match the crack you have, because the wrong pairing is the most common reason a patch fails.
Tools
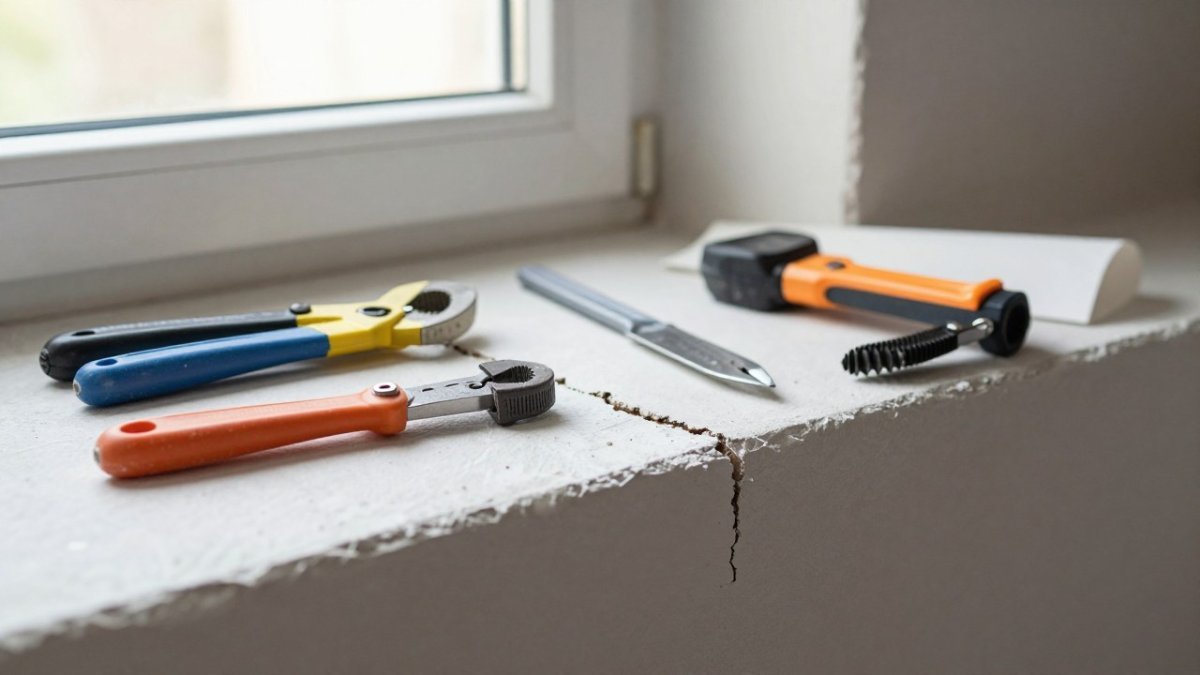
- Utility knife with a fresh blade for cutting away loose material and opening the crack into a V-groove
- Putty knife, 2 to 3 inches wide, for small cracks and for pressing compound into a groove
- Taping knife, 6 to 12 inches wide, for feathering the compound and bridging tape
Choosing the filler
There are three common fillers, and they are not interchangeable:
- Lightweight spackle is soft, sands easily, and shrinks little. It is the right choice for hairline cracks and small nail holes that will be painted over. It is a poor choice for wide gaps because it has little structural strength.
- Premixed all-purpose joint compound is the general-purpose workhorse. It bonds well, accepts tape, and feathers cleanly. It dries slower than spackle and shrinks as it cures, which is why thin coats matter.
- Setting-type compound (the powder you mix with water) hardens by chemical set rather than by drying, so it shrinks far less. It is the better choice for wider cracks, deep fills, and any repair where you want to apply multiple coats in one day. The trade-off is that you must mix only what you can use before it sets.
Choosing the tape
- Mesh tape is self-adhesive, easy to place, and forgiving for beginners. It is weaker under movement and is best for small, stable cracks.
- Paper tape is stronger and bonds into the compound to form a bridge across a joint. It is the better choice for seams, wider cracks, and any repair where the wall may flex. It requires a bed of compound first and is less forgiving to apply.
Watch out: mesh tape applied over a crack that is still moving will telegraph the crack back through the patch within a season. If the crack is recurring, paper tape embedded in compound is the safer choice.
What you can skip
You do not need a full taping set, a mechanical sander, or a corner tool for a single crack. A putty knife, a taping knife, one filler, one tape, and a sanding sponge cover the large majority of repairs.
How to Fix Small Drywall Cracks Step by Step
Most hairline cracks take about an hour of hands-on work. Drying time adds the rest, so plan for a full day or two from start to paint.
Preparing the crack and removing loose material
- Use a utility knife to open the crack into a shallow V-shaped groove. This gives the filler something to grip.
- Brush away dust and loose flakes with a dry brush or vacuum.
- If the drywall is loose, drive a screw into the nearest stud to pull the board tight, then cover the screw head with compound later.
- Wipe the area with a barely damp cloth and let it dry.
Clean the area well. Dust left behind weakens the bond between the filler and the wall.
Filling, taping and feathering the compound
- For cracks over 1/16 inch, press mesh or paper tape over the crack. Mesh tape is easier for beginners, while paper tape is stronger and better for seams.
- Spread a thin layer of compound over the tape or crack with the putty knife. Press firmly so the compound goes into the groove.
- Let it dry completely. Lightweight spackle usually takes a few hours, while joint compound can take longer.
- Apply a second thin coat with the taping knife and feather the edges outward so the repair blends into the wall.
- Sand lightly once dry, then wipe away the dust.
Watch out: applying compound too thick causes it to crack again as it dries. Thin coats hold better than one heavy coat.
Prime the patch before painting. Bare compound soaks up paint unevenly and shows through as a dull spot.
The table below summarises the small-crack repair steps and the timing each one needs.
| Step | What to do | Time or frequency |
|---|---|---|
| Open the crack | Cut a shallow V-groove with a utility knife | Before filling |
| Clean the area | Brush or vacuum dust, wipe lightly | Before filling |
| Tape the crack | Press mesh or paper tape over cracks over 1/16 inch | Before filling |
| Fill and dry | Apply a thin compound layer and let it dry | Hours for spackle, longer for compound |
| Feather and sand | Apply a second thin coat, feather edges, sand lightly | After the first coat is dry |
| Prime and paint | Prime the patch before painting | After sanding |
How to Fix Large Cracks in Walls
Cracks wider than about 1/4 inch need more than a single pass of filler. The material around the crack often needs to be opened up and rebuilt, and the repair needs reinforcement so the patch bridges the movement instead of cracking with it.
Step by step
- Open the crack into a V-groove. Run the utility knife along both sides of the crack at an angle to cut a shallow V. Cut back to solid material and remove any loose or crumbled drywall. The groove gives the filler mechanical grip and removes the weak edge that would otherwise fail.
- Secure the board. Use the stud finder to locate framing, then drive drywall screws through the board into the studs on both sides of the crack, about every 6 to 8 inches along the affected area. A board that is not tight to the framing will move and re-crack the patch.
- Fill the groove in thin layers. Press setting-type or premixed compound into the V with the putty knife, filling roughly halfway. Let it set or dry, then fill again until the groove is flush with the wall surface. Thin layers shrink less and dry more evenly than one heavy fill.
- Embed paper tape. Lay paper tape over the filled crack and press it into a fresh bed of compound with the taping knife. Work from the center outward to push out air bubbles. Paper tape is stronger than mesh for wide cracks because it bonds into the compound and bridges the joint.
- Feather the edges. Apply a second thin coat over the tape with the wider taping knife, feathering the edges outward several inches so the repair blends into the wall. A wider feather is what makes the patch invisible under paint.
- Sand, prime, and paint. Sand lightly once the final coat is dry, wipe away dust, prime the patch, and paint.
Matching the method to the crack type
The same four steps do not fit every crack. Use this as a decision guide:
- Hairline crack along a seam: Open slightly, fill with lightweight spackle or premixed compound, no tape needed if the board is tight.
- Recurring crack in the same spot: Secure the board to the studs first, then use paper tape embedded in compound. If it returns again after that, treat it as a movement issue and have it evaluated.
- Wide crack over 1/4 inch: V-groove, screw the board tight, fill in layers, and tape with paper tape.
Watch out: filling a wide crack with a single heavy pass of compound almost always shrinks and cracks as it dries. Two or three thin layers take longer but hold.
If the wall is bowing, sagging, or the crack runs across a seam that keeps moving, stop and check the framing before filling.
How to Fix Drywall Cracks on the Ceiling and Where the Wall Meets the Ceiling
Ceiling cracks follow the same basic steps, but the work is harder on your arms and neck. Set up a stable ladder or scaffold, and wear eye protection when sanding overhead.
Cracks where the wall meets the ceiling often come from the two surfaces moving at different rates. Fill these with flexible caulk rather than rigid compound if the gap keeps opening, since caulk moves with the joint. Paint the seam once the caulk is fully cured.
Working overhead also means dust falls on you and your floor. Cover the floor and furniture with a drop cloth before you start sanding.
Why Drywall Cracks Come Back and How to Prevent Repeat Repairs
A crack that returns usually has a clear cause. Repairing the surface alone will not stop the movement underneath.
- Skipping the tape. Compound alone does not bridge a seam well. Tape spreads the stress across the joint.
- Filling over loose board. If the drywall is not screwed tight to the studs, the new patch will shift and crack again.
- Painting too soon. Paint over damp compound traps moisture and can cause peeling later.
Give the repair enough time to dry, secure any loose board, and address the cause before you finish with paint.
Booking Your Drywall Repair and Repaint With Rooster Painting
Some cracks are simple enough to handle yourself. Larger repairs, ceilings, and walls that need a full repaint are often easier to get right with a professional. See our interior painting service and what it includes for your walls. At Rooster Painting, we handle drywall repair and interior painting together, so you do not have to coordinate separate contractors.
Request a free detailed written estimate for your walls. For the wall prep steps behind a lasting finish, read how to prepare walls for painting, and see why professional wall prep prevents repeat failures. If you are weighing a repaint after the repair, For pricing, request a free quote from Rooster Painting, since costs depend on the scope of your project.
Ready to stop patching the same crack? Tell us about your project and request your free written estimate.
Frequently Asked Questions
How do I fill a crack in drywall?
For hairline cracks, clean the crack of dust, apply a thin layer of lightweight joint compound or spackle with a 6-inch taping knife, and press it firmly into the crack so it fills completely. Let it dry fully, which usually takes several hours depending on humidity, then sand lightly and add a second thin coat. Feather the edges well beyond the crack so the repair blends into the wall. Wider cracks need mesh or paper tape embedded in compound before the finish coats. Once the final coat is dry and sanded smooth, prime the area before painting so the patch does not show through the finish.
What is the best filler for drywall cracks?
For most small to medium cracks, lightweight all-purpose joint compound is the most practical choice because it sands easily, spreads smoothly and works well for multiple coats. Pre-mixed spackle suits very fine hairline cracks and small nail holes. For cracks wider than about an eighth of an inch, use paper or mesh tape with joint compound, since tape helps prevent the crack from reopening. Setting-type compounds dry faster and are useful when you need to recoat the same day, though they are harder to sand. Choose the product based on crack size and how quickly you need to finish.
Can you fix drywall cracks without tape?
Hairline cracks that are not moving can often be filled with compound or spackle alone, and a few thin coats usually hold. However, cracks wider than about an eighth of an inch, or cracks that have reopened after a previous repair, are much more likely to return without tape. Mesh tape is self-adhesive and easy for beginners, while paper tape bonded with compound gives a stronger, more durable repair. Using tape spreads stress across the joint and reduces the chance the crack will show again after painting.
When should you worry about cracks in drywall?
A single hairline crack that stays the same width is usually cosmetic and caused by drying or minor settling. Get concerned if cracks are wider than about a quarter inch, run diagonally from door and window corners, keep reappearing after repair, or are accompanied by sticking doors, gaps around window frames or uneven floors. These patterns can signal structural movement, foundation issues or water problems. If you see them, have a qualified contractor or structural professional inspect the home before you invest in cosmetic repairs.
